Introduction
The Meta Conversions integration establishes a secure, Server-to-Server (S2S) connection between MoEngage and Meta. By mitigating the impact of browser-side obstacles such as cookie restrictions and ad blockers, it ensures a more consistent and high-fidelity data stream for better attribution. MoEngage supports the following distinct connectors for Meta:- Meta Web Conversions: Streamline website events (for example, purchases, registrations, Add to Cart) captured by the MoEngage Web SDK directly to Meta’s server.
- Meta Offline Conversions: Sync high-value offline data (for example, In-store Transactions, CRM leads, or Phone Orders) directly into Meta to measure the full impact of your omnichannel marketing.
Use Cases
Integrating Meta Conversions with MoEngage allows you to sync event data to support the following use cases:- Signal resilience: Recover “lost” conversions typically blocked by browser privacy settings or ad-blocking software.
- Offline to online attribution: Bridge the gap between physical storefront transactions and digital ad clicks to measure total ROI.
- Return on Ad Spend (ROAS) optimization: Provide high-quality, real-time data to Meta’s machine-learning algorithms to lower your Cost Per Acquisition (CPA) and improve ad delivery.
Prerequisites
PrerequisitesBefore setting up, ensure you have the access to the following below:
- Pixel ID : You must obtain a Pixel ID to use Conversions App. If you’ve already set up a Pixel for your website, we recommend that you use the same Pixel ID for your browser and server events.
- Business Manager : You also need a Business Manager. If you don’t have a Business Manager yet, see the Help Center article on how to Create a Business Manager.
Integration Setup
Step 1: Retrieve Your Pixel ID from Meta
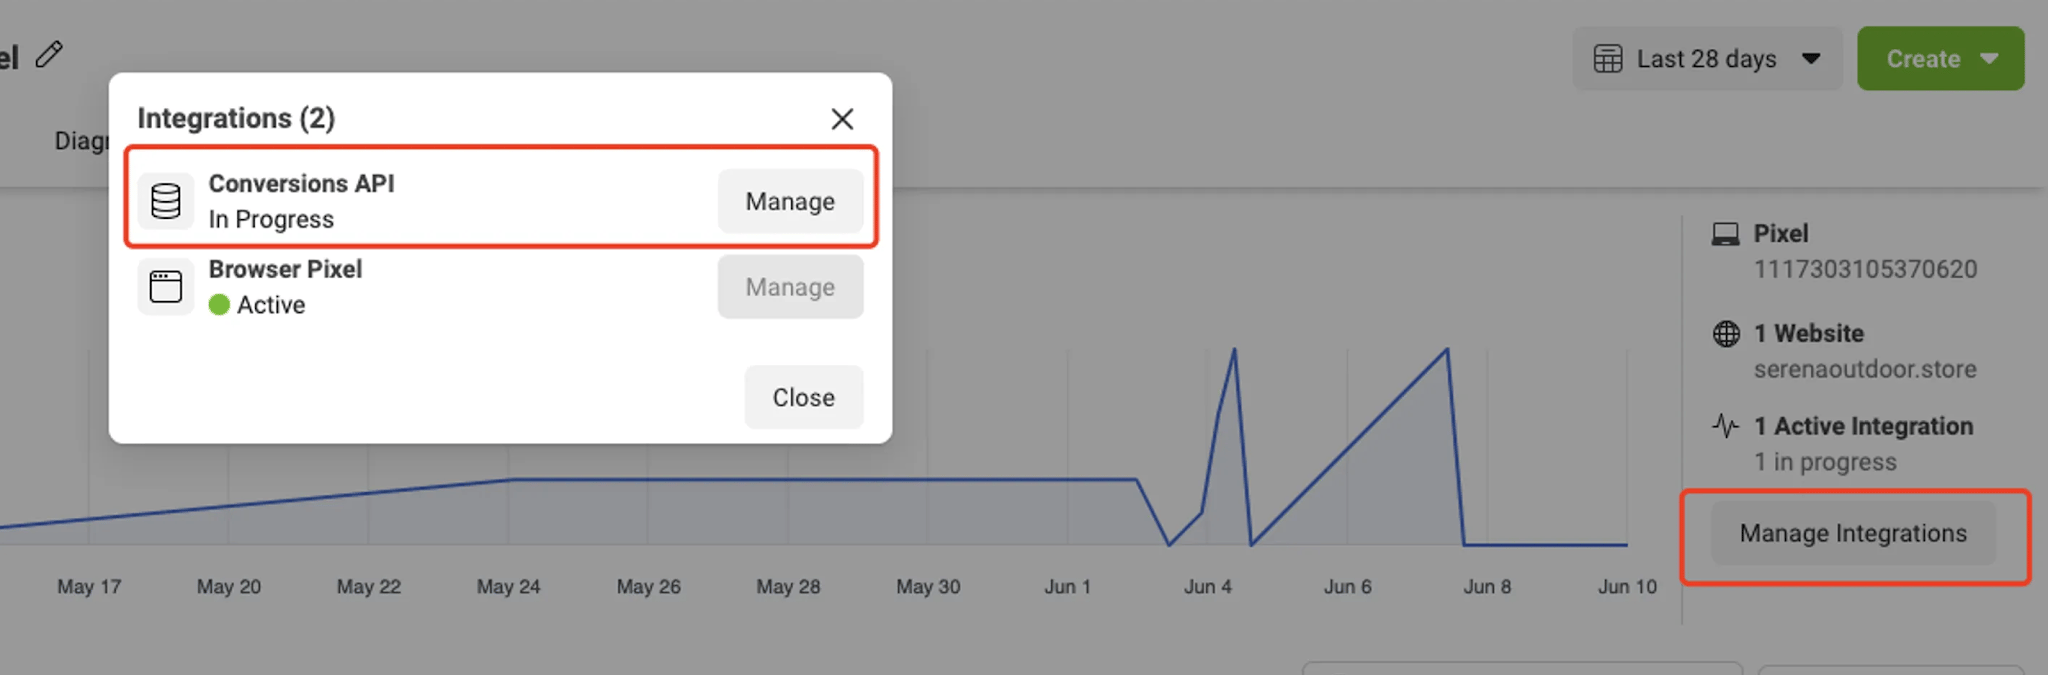
Before connecting, retrieve your Pixel (Dataset) ID from Meta Events Manager:1.1. Choose the Pixel you want to implement
In Events Manager, go to Data Sources > Datasets and Pixels. Select your dataset, and then copy the Pixel ID displayed.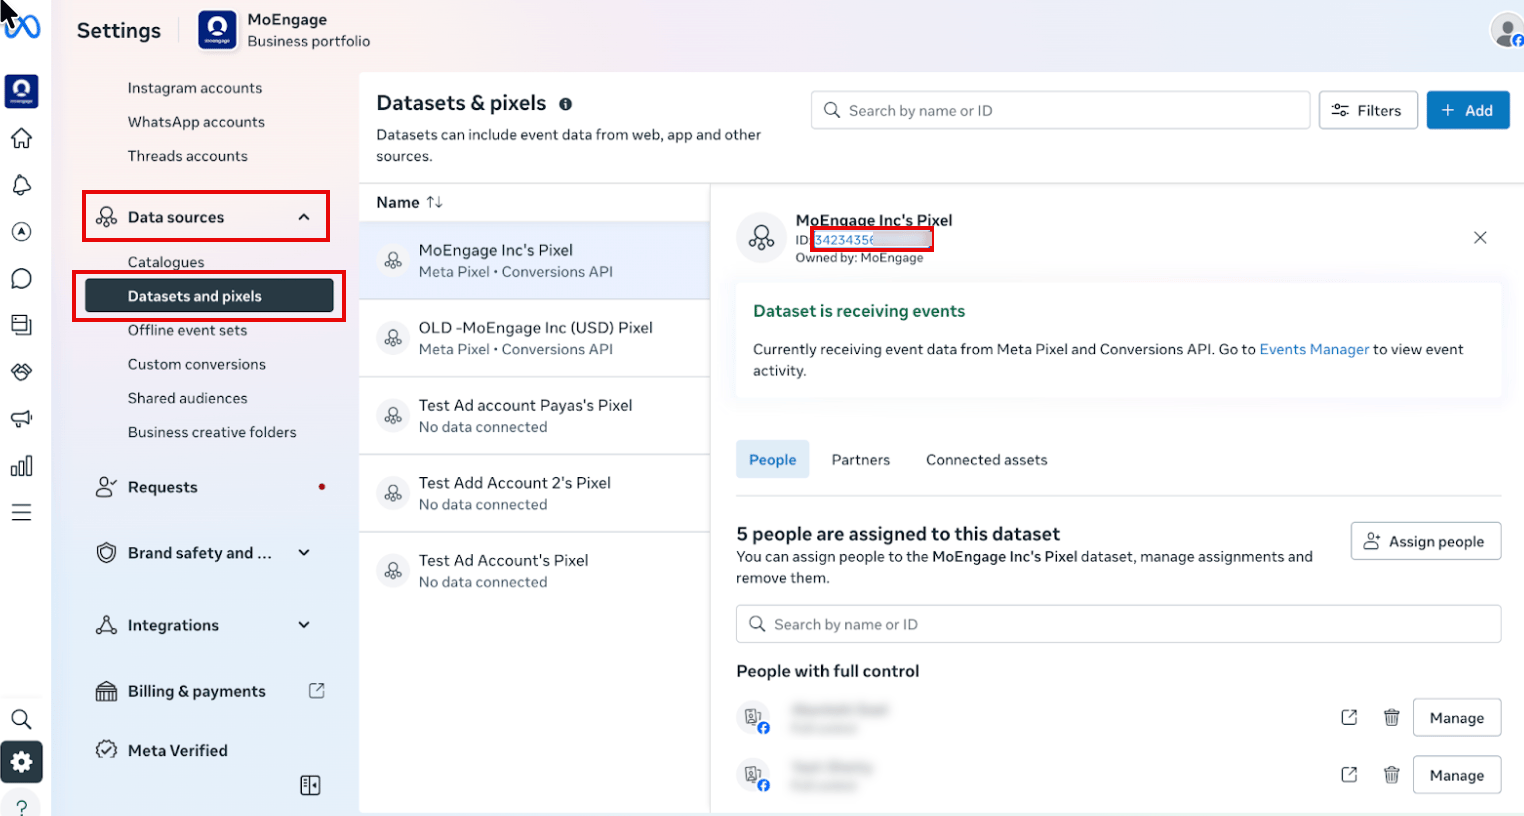
1.2. Select the Settings tab
Once your Pixel is selected, navigate to the Settings tab to access configuration options.
Step 2: Generate Access Token from Meta Events Manager
Inside Events Manager, follow these steps: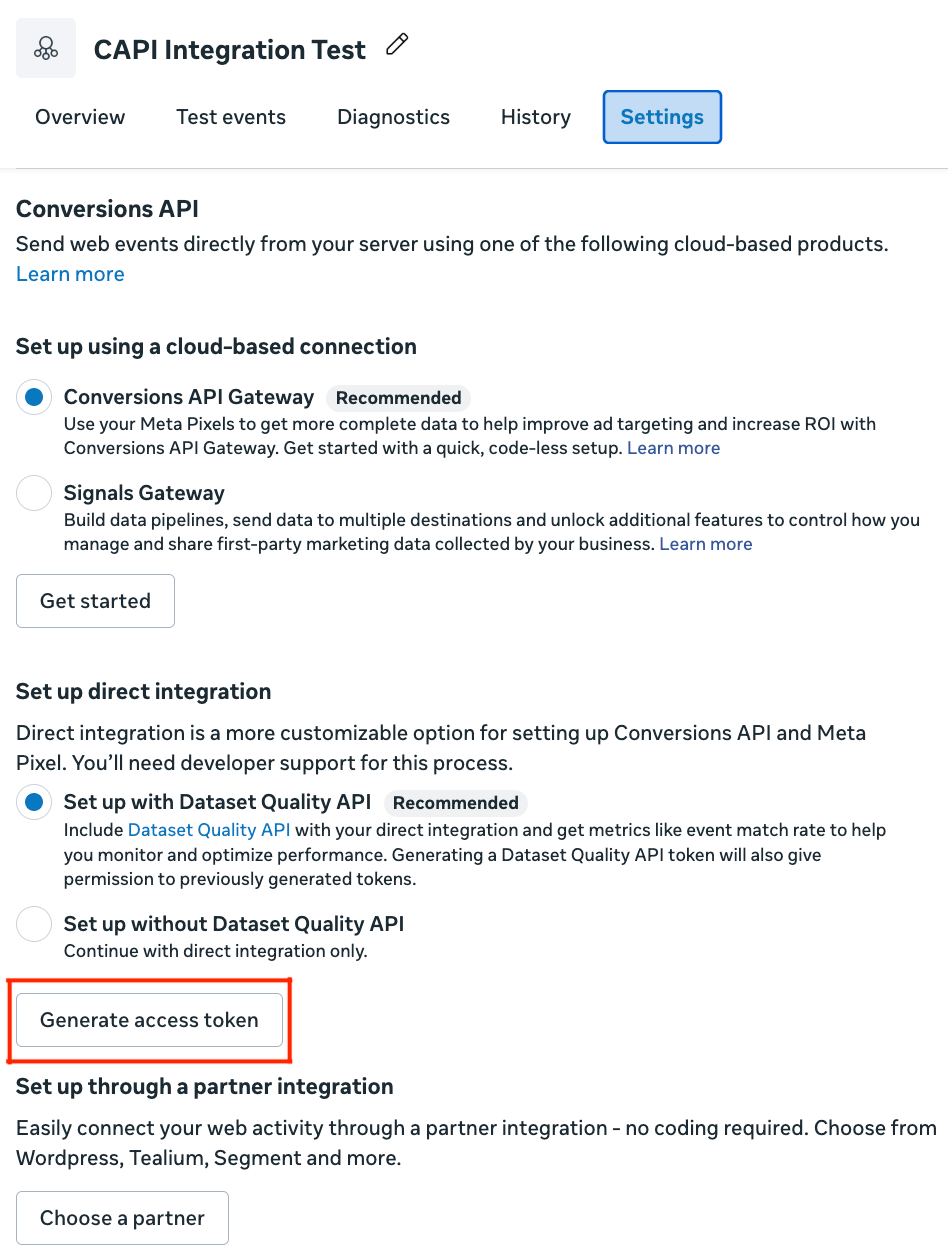
Campaign Setup
Choose the integration type you want to set up. Both Web and Offline Conversions require the same authentication credentials but track different types of conversion events.- Web Conversions
- Offline Conversions
Step 1: Connect Meta Web Conversions in the App Marketplace
To connect Meta Web Conversions in the App Marketplace, perform the following steps:- On the left navigation menu in the MoEngage UI, click App Marketplace.
- On the App Marketplace page, search for Meta Conversions.
- Click the Meta Conversions tile.
- On the Meta Conversions page, click the Integrate tab.
- Click the (
 )down arrow key, and then click Track Web Conversions.
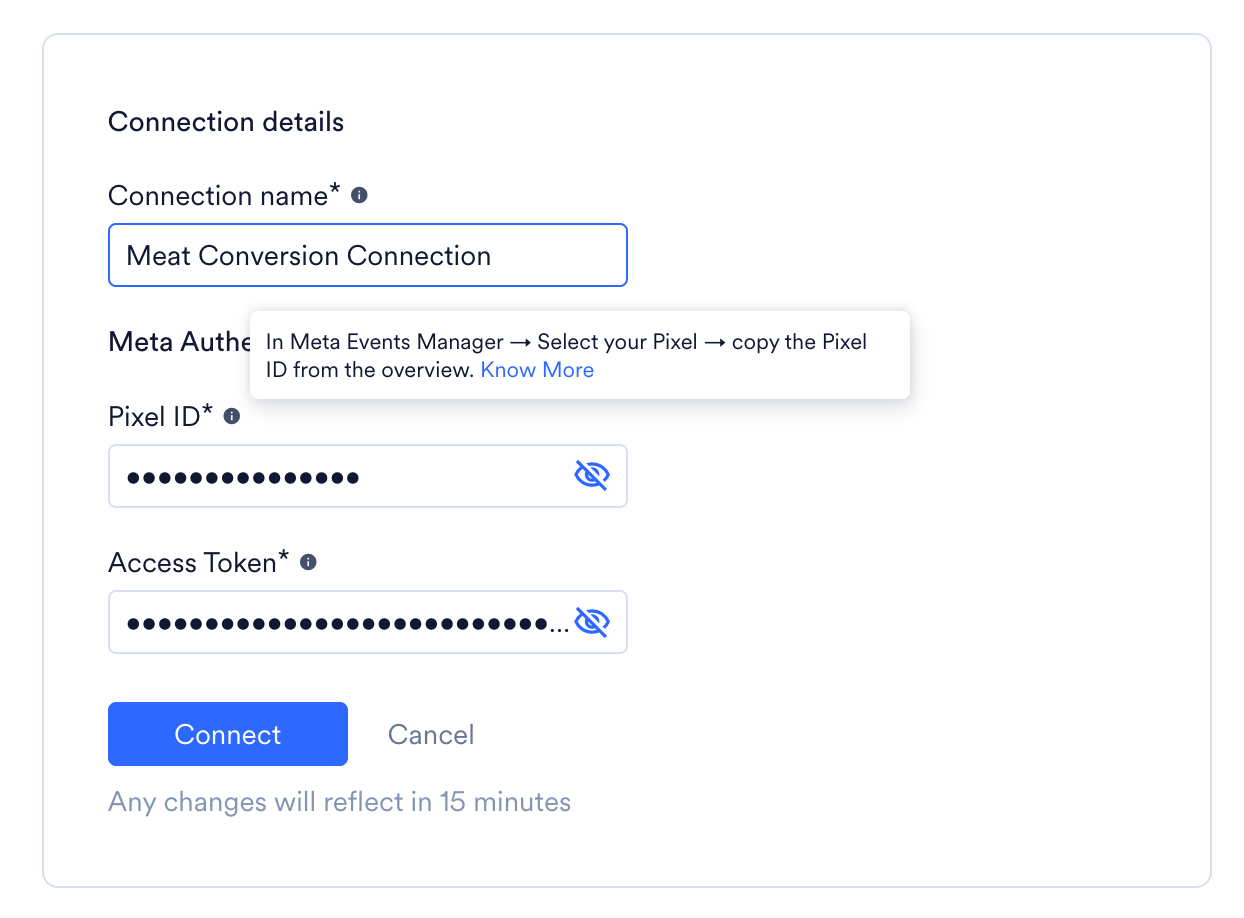
 - Enter the following details:
- Click Connect to save your connection.
Step 2: Create a Meta Web Conversions Campaign
To create a Meta Web Conversions campaign, perform the following steps:- On the left navigation menu in the MoEngage UI, click Engage, and then click Campaigns.
- On the All campaigns page, click + Create campaign.
- In the Create campaign dialog box, under Connected Apps, click Meta Conversions and then click the most suitable delivery type.
- In Step 1 (Target Users), select your audience.
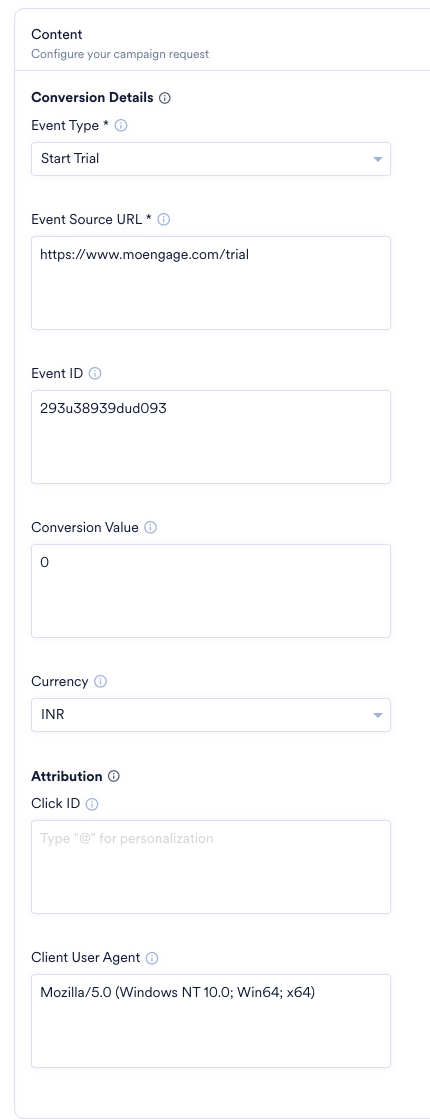
- In Step 2 (Content), select your Connector (Track Web Conversions) and your created connection.
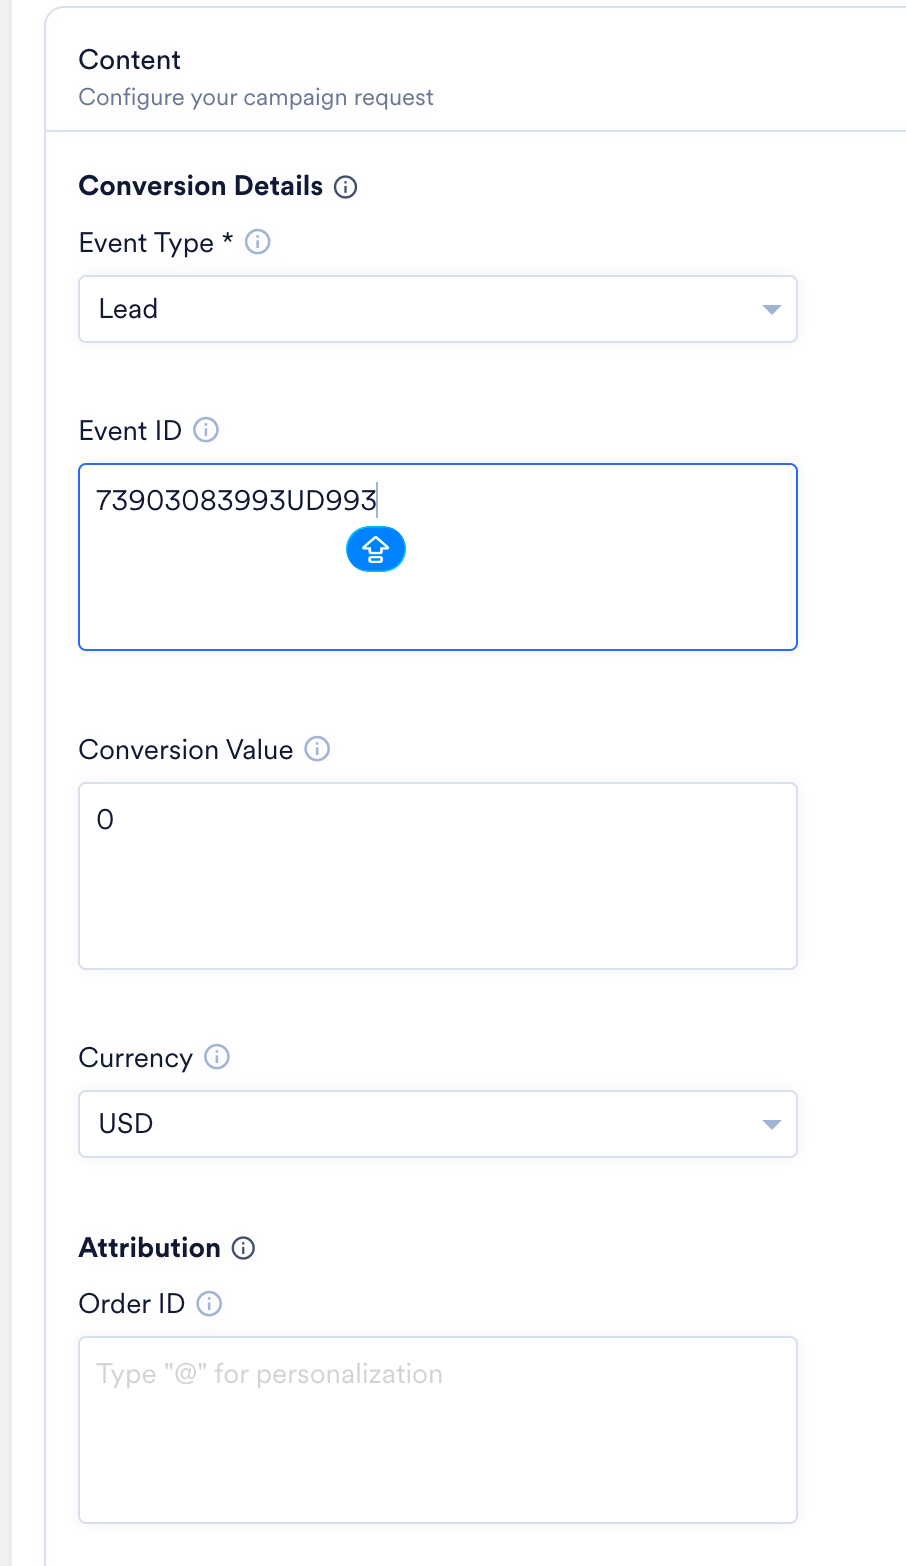
- Under Conversion Details, configure the following fields:
Note: Email and phone fields are auto-populated with standard MoEngage user attributes. These are automatically hashed using SHA-256 before transmission to protect user privacy.
-
Your campaign is now ready to be tested and sent. Using the Test functionality, you can also test your connector configuration.

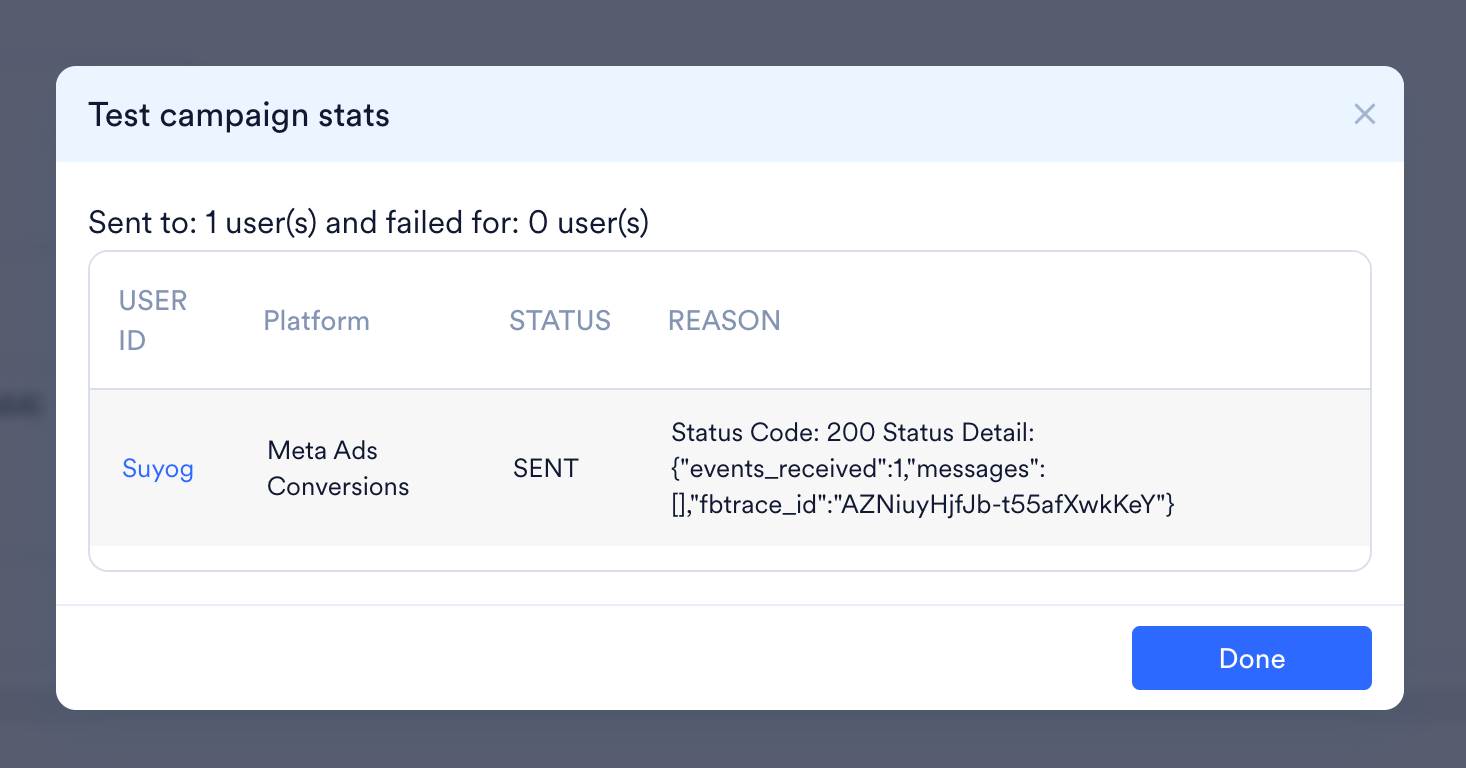
- You would receive a message as shown below, this confirms your setup is complete.
-
Publish the campaign.